

Understanding Vapor Barrier Installation
What is Vapor Barrier Installation?
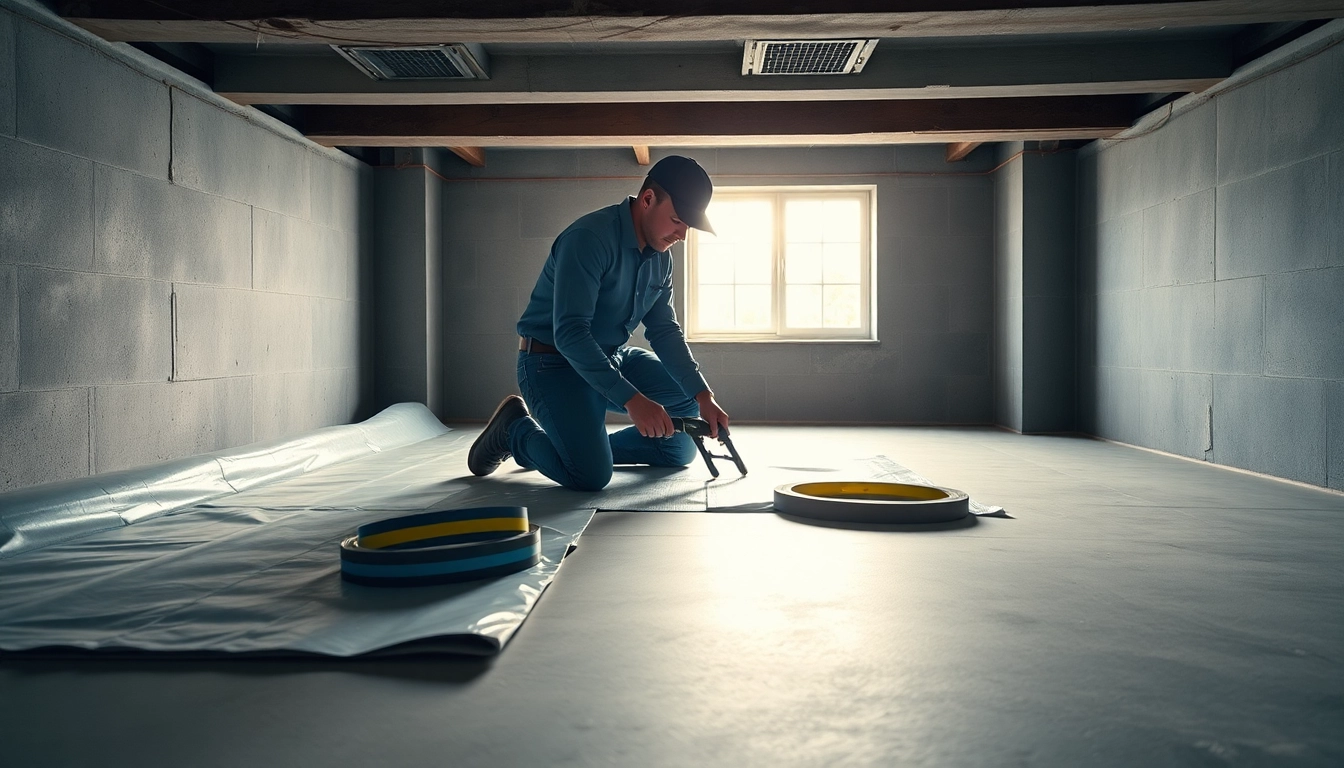
Vapor barrier installation involves laying down a protective material in crawl spaces, basements, or other areas of a structure to prevent moisture from seeping through surfaces. This protective layer effectively blocks water vapor from the ground, which can lead to issues like mold growth and structural damage. Common materials for vapor barriers include polyethylene sheeting and specialty membranes designed specifically for moisture control.
Importance of Vapor Barrier Installation
The necessity of a vapor barrier cannot be overstated, especially in moisture-prone areas. By preventing water vapor intrusion, a vapor barrier helps maintain a healthy environment indoors, reducing the risk of mold and mildew growth. Additionally, it contributes to overall energy efficiency by keeping indoor spaces warmer in winter and cooler in summer, ultimately lowering energy bills. Furthermore, appropriate Vapor Barrier Installation extends the life of your home’s structural elements, including foundations and supports, which can deteriorate due to moisture exposure.
Common Materials Used in Vapor Barrier Installation
When considering vapor barrier installation, selecting the appropriate materials is crucial. The most common material used is polyethylene sheeting, typically 6 to 20 mil thick. This plastic sheeting is durable and effective at preventing moisture transfer. Other materials may include reinforced membranes, which offer additional strength and tear resistance. It’s important to choose a vapor barrier that meets local building codes and specific climate conditions to ensure maximum efficacy.
Preparing for Vapor Barrier Installation
Assessing Your Crawl Space
Before beginning vapor barrier installation, a thorough assessment of the crawl space is essential. Check for existing moisture issues, such as damp areas or signs of water pooling. Look for potential mold growth on wooden structures and inspect for any drainage problems that might exacerbate moisture intrusion. Understanding these conditions will help determine the necessary steps and materials for effective installation.
Choosing the Right Materials for Vapor Barrier Installation
Selecting the right materials goes beyond just thickness. Depending on your local climate, humidity levels, and the specific characteristics of your home, different materials may be more effective. For example, in high-humidity areas, it may be beneficial to use a vapor barrier that includes an additional layer of insulation. Consulting local building codes or a professional can provide guidance on the best options for your situation.
Tools Needed for a Successful Installation
Gathering the right tools can make the vapor barrier installation process smoother. Essential tools include:
- Utility knife for cutting the vapor barrier
- Tape measure to ensure accurate measurements
- Staple gun for securing the barrier
- Adhesive or tape for sealing seams
- Shovel for moving any debris
- Safety gear: gloves, mask, and knee pads to ensure safety during installation
Step-by-Step Process of Vapor Barrier Installation
Clearing the Crawl Space
Prior to laying down the vapor barrier, the crawl space must be thoroughly cleared of any debris or obstructions. Remove any old vapor barriers if present, sweeping the area clean to ensure adequate adhesion of the new barrier. Pay particular attention to any damaged or rotted wood that may need replacing or repair before installation begins.
Properly Laying Down the Vapor Barrier
Once the area is clean and prepared, begin laying down the vapor barrier, ensuring it overlaps at seams for maximum moisture prevention. Install the barrier in the direction of the moisture source, typically from the walls inward towards the center of the crawl space. Use a utility knife to cut the material to fit snugly against the walls, and avoid any wrinkles or gaps that could allow moisture to seep through.
Sealing and Finishing Touches
Sealing is a critical final step in the installation process. Use adhesive and tape to secure seams effectively, ensuring a watertight barrier. Additionally, make sure that the barrier is secured against the walls using a staple gun or adhesive. Finally, perform a thorough inspection to ensure there are no gaps or weak points in your installation.
Common Challenges in Vapor Barrier Installation
Dealing with Moisture Issues
Moisture control is one of the biggest challenges during vapor barrier installation. Even with a barrier in place, it’s vital to address any existing moisture problems. This can include installing a sump pump or drainage system to redirect water away from the foundation or implementing a dehumidifier in particularly humid climates.
Addressing Drainage Concerns
Effective drainage is essential for mitigating moisture issues. Inspect the property’s drainage systems to ensure they are functioning correctly. Gutters should be clear, and downspouts must direct water away from the foundation. Adjust grading around the home if needed, ensuring water flows away from the structure.
Ensuring Proper Adhesion
Ensuring that the vapor barrier adheres correctly is crucial for its performance. Inadequate adhesion can lead to wrinkles or gaps that allow moisture to seep through. To ensure proper adhesion, apply adhesive in even, consistent lines, and press firmly to eliminate air pockets. Pay special attention when sealing seams and edges, as these are common areas for leaks.
Maintaining Your Vapor Barrier
Routine Inspections for Longevity
Routine inspections are key to preserving the integrity of your vapor barrier. Schedule annual inspections or after heavy rainfalls, checking for signs of wear and damage. Look for detachment, tears, or signs of moisture intrusion. Identifying problems early can save significant costs later.
Signs Your Vapor Barrier Needs Replacement
Monitoring performance is critical; be vigilant for signs your vapor barrier needs replacement. Indicators include visible mold growth, persistent dampness, increased humidity levels, or musty odors. If you notice any of these issues, it may be time for a thorough inspection and potential replacement of the vapor barrier.
Professional Help vs. DIY Maintenance
While DIY maintenance is possible, some scenarios may necessitate professional intervention. If severe issues are detected or if the installation has experienced significant wear, a professional can help identify underlying problems and perform repairs or replacements effectively. Understanding when to hire an expert can help ensure your home remains dry and protected.
FAQs about Vapor Barrier Installation
Why is a vapor barrier essential?
A vapor barrier prevents moisture damage, mold growth, and maintains energy efficiency in crawl spaces.
How thick should a vapor barrier be?
A vapor barrier should typically be at least 6 mil thick to effectively block moisture.
Can I install a vapor barrier myself?
Yes, but proper preparation and technique are essential for effective vapor barrier installation.
How often should I inspect my vapor barrier?
It’s recommended to inspect your vapor barrier at least once a year or after heavy rainfall.
What are the signs of a failing vapor barrier?
Signs include mold growth, increased humidity, and musty odors in your crawl space.